Convert CSV schedules format to GTFS (for Hyderabad Metro)
Instructions

Click here to see a demo video.
This page handles the specific CSV format↗ of HMRL, Hyderabad, India. There are some files to upload and some settings to set before converting to GTFS. Please make your way through each of the tabs.
- Do remember to enter the password on top right for the final GTFS conversion.- Detailed instructions are given in info boxes at each tab.
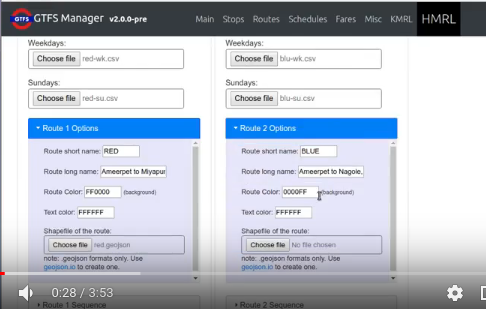
1. Upload Files
Choose number of Routes: warning: clicking this again will reset everything below.
Click here↗ to see a sample structure of the HMRL CSV format.
2. Stops (simplified)
Add a new station:
Note: This is a simplified representation of the metro stations.
In the system-generated data files that you will upload in 3rd tab,
each platform has its id like "MYP1", "MYP2" etc.
In the final GTFS, "MYP" will be automatically set as parent to "MYP1", "MYP2".
3. Misc Info
Agency Info
Calendar
Stops Replacement
This table is for setting the correct stop_id's for platforms. Example: At Ameerpet, Blue Line uses platform 4 and Red Line uses platform 2.
Click to expand
Fares
Upload Fares Chart CSV : (get template)
Note: This is optional. If no file is chosen, fare_rules file won't be created.
Assign Fare ID's:
Add a fare
Please ensure that all the fare prices mentioned in the fares chart csv above have been assigned a fare_id here.
Translations
This table will be converted to the translations.txt spec in GTFS extensions, that can be used in regions having multiple official languages.
Click to expand
Note: names must exactly match those given in other places.
Missing Stops
This table will tell the program what timing calculations to apply in case a stop is missing from the uploaded csv datafile.
Click to expand
There are some default configurations already loaded. Skip this if there's been no major changes since last run.
4. Convert to GTFS
The import process will be similar to the GTFS import process on the home page. The data currently loaded will be exported as a backup, and a fresh GTFS feed will be created using the data you have uploaded and entered.
Clck here to see a sample console log output of a successful import.